
How to Master Your Daily Gua Sha Routine: A Beginner's Guide to Natural Face Lifting
Ancient Chinese emperors' beauty secret has become social media's fastest-growing skincare trend, with TikTok users generating over 1 billion views.
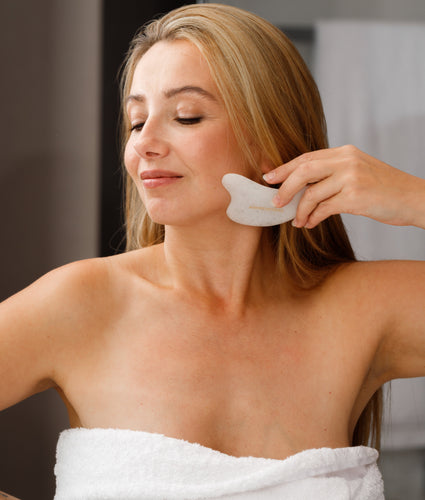
A consistent gua sha routine could be your solution to fight aging signs and achieve natural face-lifting results. This centuries-old practice has caught skincare enthusiasts' attention worldwide. Users report better circulation, less puffiness, and naturally sculpted facial features.
Many beginners feel lost as they start their gua sha practice. "Am I doing this right?" or "When will I see results?" echo the common questions we receive. We created this complete guide to help you perfect your daily gua sha routine. You'll learn everything from selecting the right tool to mastering proper techniques.
Want to enhance your skincare routine with this time-tested practice? Let's head over to the essential details you need to use gua sha effectively.
Understanding Gua Sha Fundamentals
The ancient practice of gua sha has captivated people since China's Stone Age. This piece will take you through its fascinating history and show you how to use its benefits in your skincare routine.
What is Gua Sha and Its Origins
Gua sha began as a healing technique over 5,000 years ago during the neolithic period. The name tells its story - 'gua' means to scrape or stroke, while 'sha' describes the redness that appears during treatment. Chinese medical texts from the Ming Dynasty (1368 to 1644) first recorded this practice.
Scientific Benefits for Skin Health
Research reveals several proven benefits of gua sha for your skin and overall well-being:
⦁ Improved Circulation: A pilot study showed increased blood flow in treated areas that lasted up to 25 minutes after treatment
⦁ Pain Relief: People with chronic neck pain saw better results after one treatment compared to those using heating pads
⦁ Inflammation Reduction: Research suggests gua sha creates longer-lasting anti-inflammatory effects
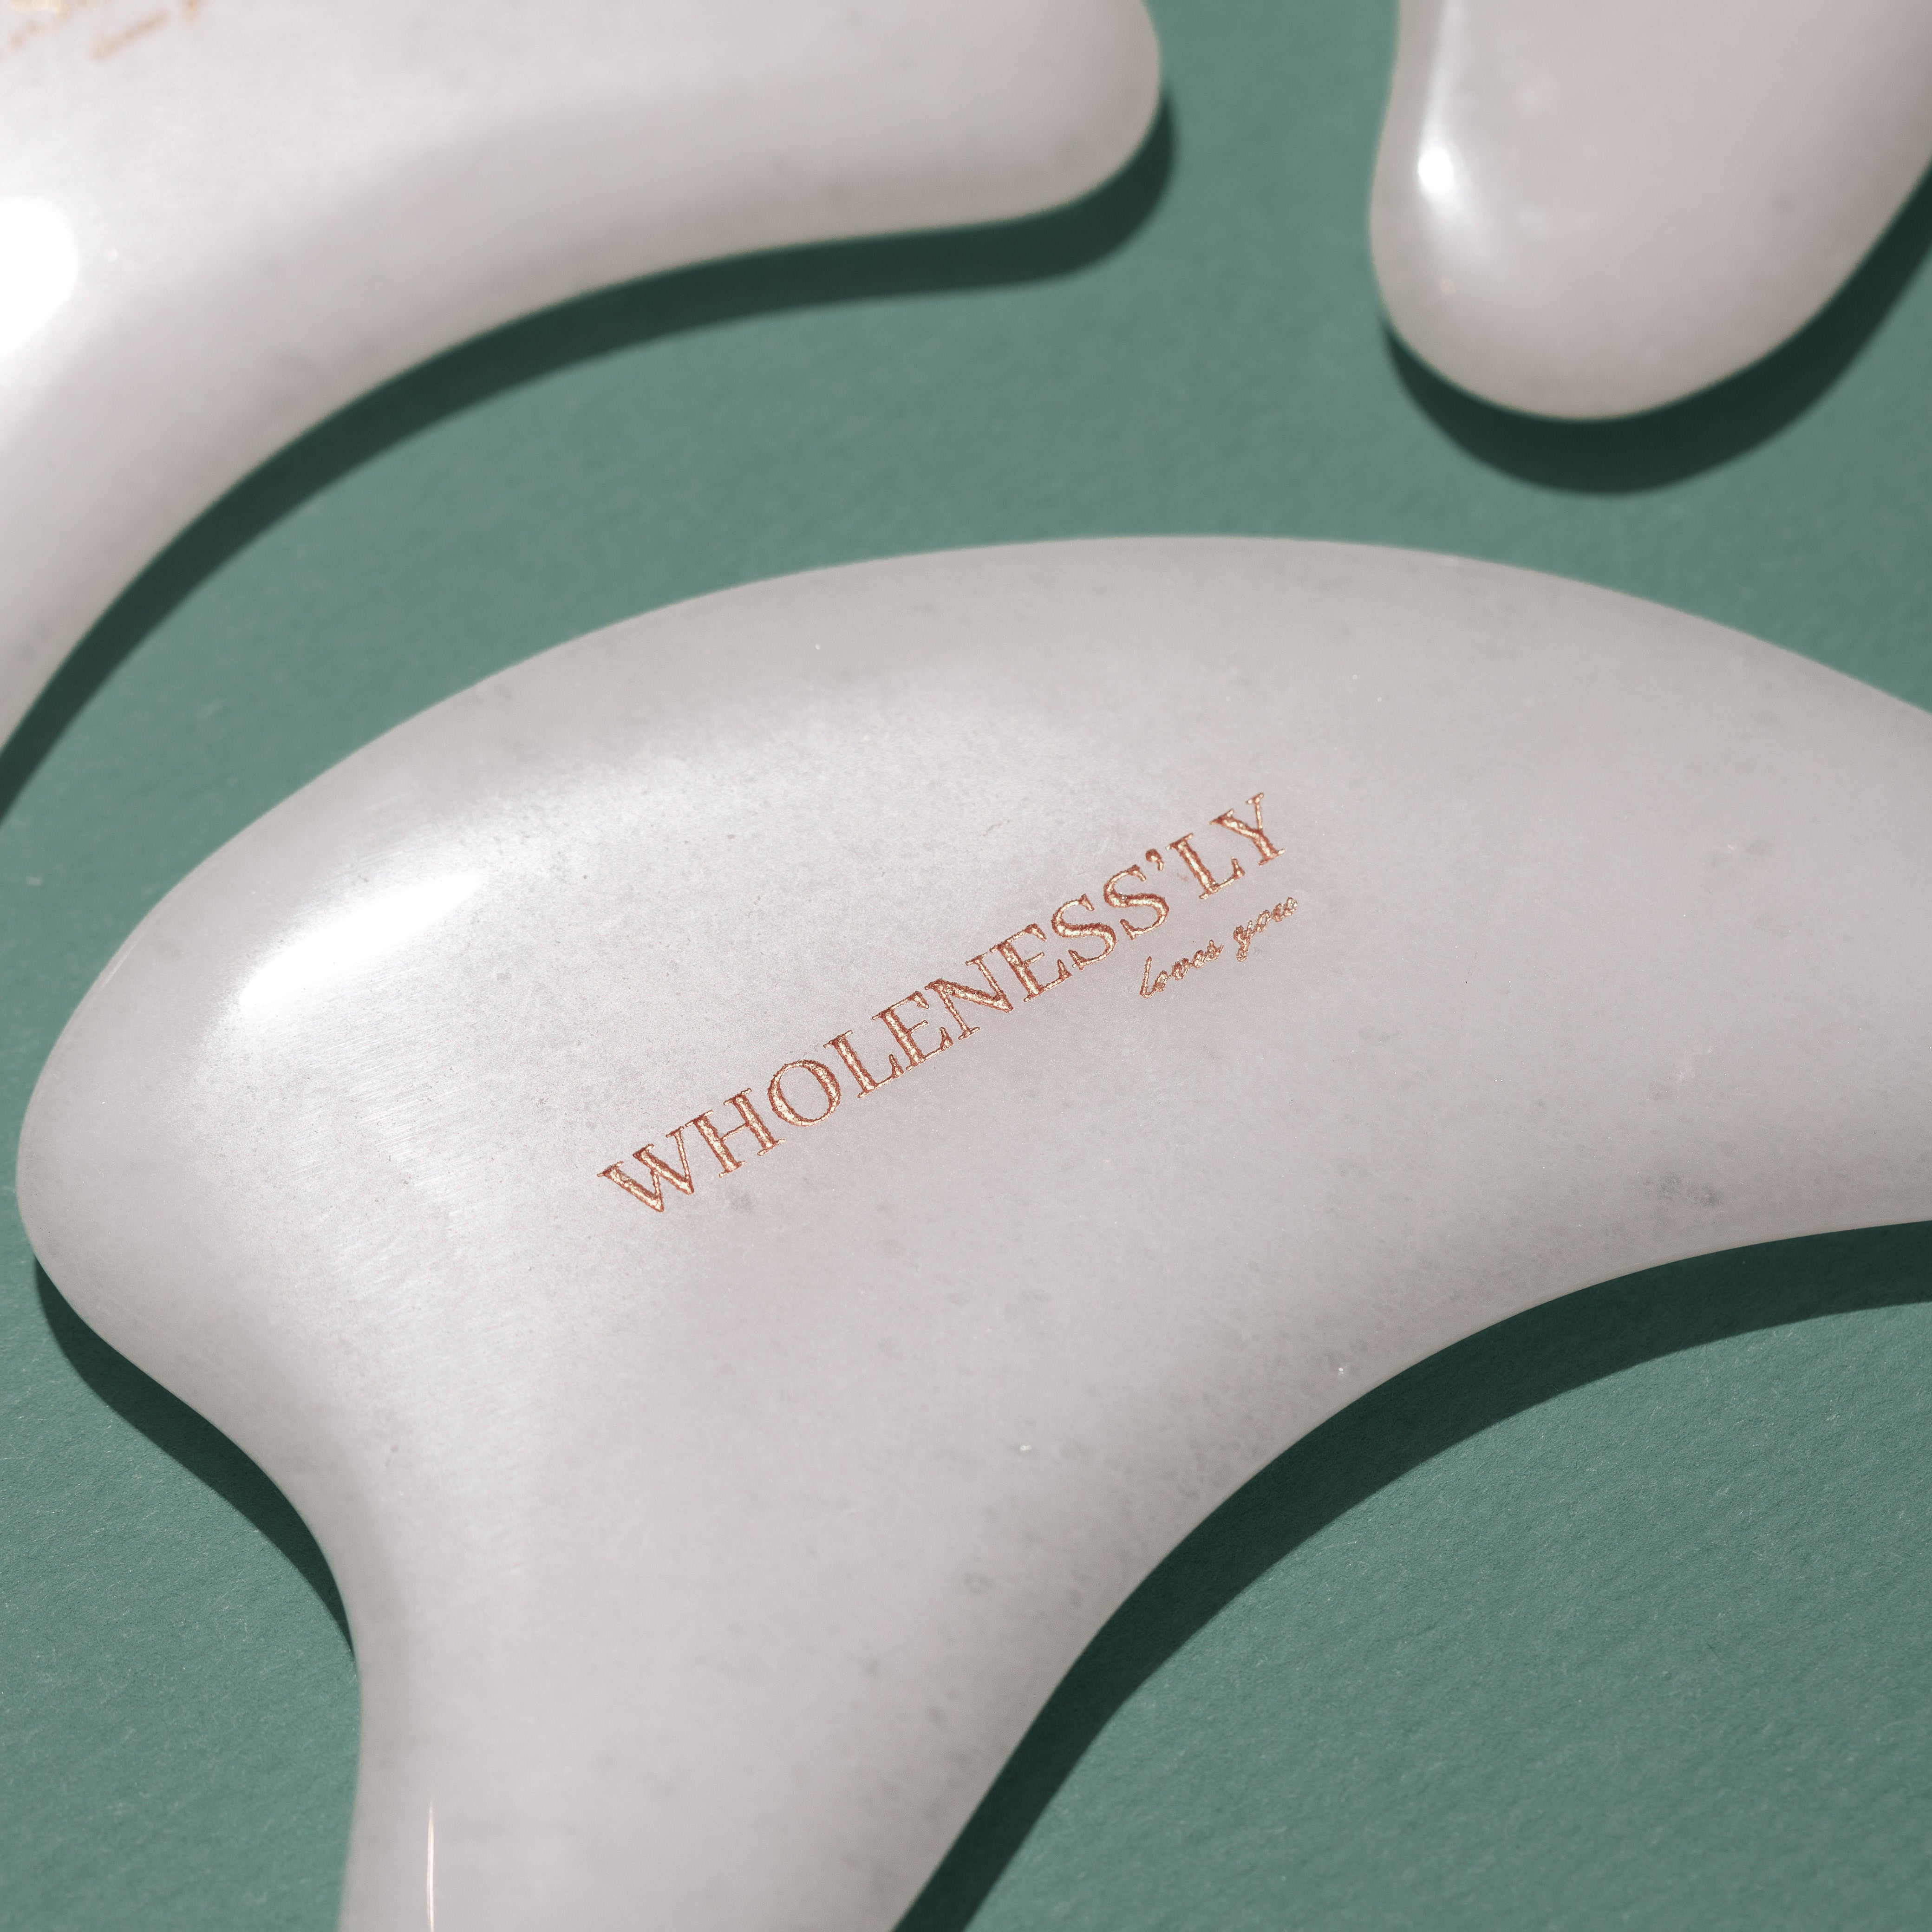
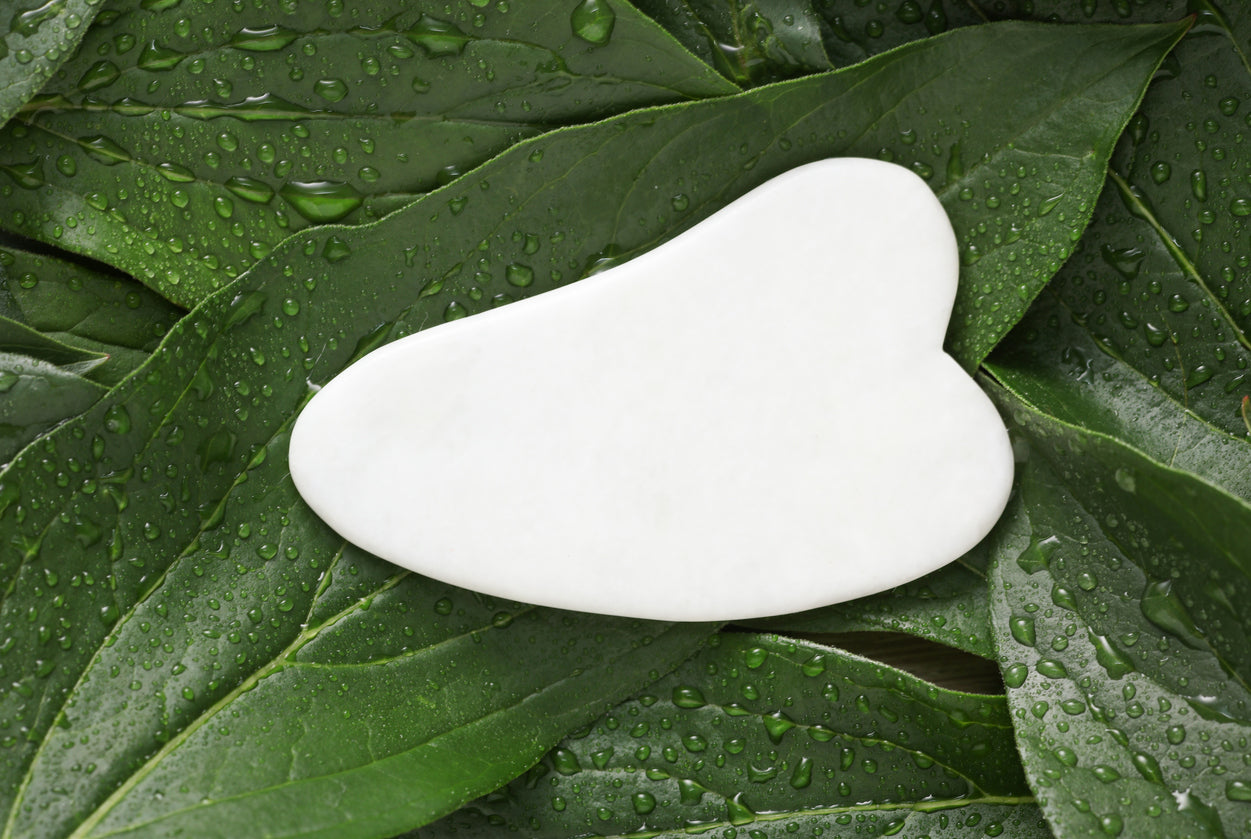
Choosing the Right Gua Sha Tool
Your gua sha tool should have these key features:
1. Material Quality: Choose authentic crystal or natural materials with enough weight to get better results
2. Shape Variations: Pick a tool with at least two different grooves that work well on various facial areas
Common materials include:
⦁ Jade: Reduces puffiness and helps with lymphatic drainage
⦁ Rose Quartz: Works best on fine lines
⦁ Black Obsidian: Great for muscle tissue repair
⦁ Amethyst: Tightens pores and cools the skin
The tool's weight plays a crucial role - a heavier tool often works better by reaching deeper to relieve tension. Your chosen tool must have smooth edges to protect your skin during use.
Essential Pre-Routine Preparation
Let's get your gua sha routine started right. A good preparation will give you the best results. Here's how to set up everything you need for an amazing facial massage.
Cleansing and Product Selection
Clean skin is your starting point to prevent pushing dirt into your pores. Follow these steps to prepare:
1. Remove all makeup and surface debris
2. Use a gentle cleanser suitable for your skin type
3. Pat your face dry with a clean towel
4. Apply 2-3 drops of facial oil or serum
You'll need a moisturizing product that matches your skin type to help the tool glide smoothly. People with acne-prone skin should think over using an oil-free face lotion instead of facial oil.
Creating Your Sacred Space
A dedicated space for your gua sha practice helps build routine. Your nervous system will relax better in a sacred space, so you'll connect more deeply with the practice. Add these elements to your space:
⦁ A clean, clutter-free surface
⦁ Calming atmosphere with minimal distractions
⦁ Comfortable seating arrangement
⦁ Natural lighting if possible
Your space should be free from unexpected interruptions. This mindful setup helps you focus on the practice and maximize its benefits.
Proper Hand and Tool Sanitization
Safe and effective gua sha practice starts with good hygiene. Wash your hands really well with soap and water. Here's how to keep your gua sha tool clean:
Clean your tool with gentle soap and lukewarm water. Stay away from harsh chemicals or abrasive scrubbers that might damage the stone's surface. Use a clean towel to dry your tool completely.
You can use isopropyl alcohol to give your tool extra protection against bacteria. Keep your gua sha tool in a cool, dry place or an airtight bag in your skincare fridge to stop bacteria from growing.
Note that cleaning your tool before and after each use works just like other skincare tools. This practice will keep your gua sha routine safe and effective for the long run.
Master the Basic Gua Sha Techniques
Let me guide you through the vital techniques that are the foundations of a good gua sha routine, now that we have our space and tools ready.
Correct Pressure and Angle Guide
The right pressure and angle are vital to get optimal results. Here are the pressure techniques that work best:
1. Feather-light pressure for lymphatic drainage around eyes and neck
2. Light to medium pressure for general facial massage
3. Medium pressure for muscle tension release
4. Firm pressure only for back of neck and shoulders
Your tool should be at a 15-30 degree angle against your skin to work effectively. The stone needs to stay in constant contact with your skin as you move it.
Essential Stroke Patterns
Different areas of your face need specific stroke patterns based on my experience. These fundamental movements will give you the best results:
⦁ Long, upward strokes for neck and jawline
⦁ Short, gentle strokes around the eye area
⦁ Sweeping motions across cheekbones
⦁ Outward strokes along the forehead
You need consistent pressure throughout each stroke. Each movement should be repeated 3-5 times before moving to the next area.
Facial Mapping for Maximum Results
My gua sha practice improved significantly after learning about facial mapping. The technique should start from the neck and work upward to support natural lymphatic flow. These directional guidelines will help you:
Start from the center of your chin and work outward toward your earlobes. The forehead should be divided into three sections, with outward gliding motions in each area. Your cheeks need upward sweeping motions that start at your nose and move along the cheekbones toward your ears.
The undereye areas require gentle movements from the inner corner outward to the temple. Your brows need upward strokes along the bone from inside out. This approach ensures each facial area gets targeted attention with specific directional movements.
Your free hand should support your skin while using the tool. This prevents pulling and helps you make smooth, controlled movements throughout your routine.
Building Your Daily Ritual
I've found that a consistent gua sha routine helps achieve noticeable results. Let me share what I know about creating a daily practice that fits your schedule.
Morning vs Evening Routine
Both morning and evening sessions offer unique benefits. My morning sessions focus on reducing puffiness and energizing my skin. Without doubt, morning gua sha helps depuff my face and brightens my complexion. This works great after salty foods or a few drinks the night before.
Evening sessions help me unwind and release the day's tension. I prefer nighttime practice because it gives me more time for a complete routine and helps me relax before bed.
5-Minute Quick Routine
Here's the quickest way to do gua sha on busy mornings:
1. Apply two pumps of facial oil
2. Swipe cheeks upward (20 seconds each side)
3. Move across forehead (20 seconds)
4. Glide along jawline (20 seconds per side)
5. Finish with gentle neck strokes (20 seconds)
15-Minute Deep Treatment
A complete treatment three to four times weekly gives the best results. My deep treatment routine has these steps:
⦁ Start with neck sweeps, moving gently over the Adam's apple
⦁ Progress from chin to earlobes in sweeping motions
⦁ Focus on cheekbones, directing fluid toward hairline
⦁ Perform extra-gentle under-eye sweeps
⦁ Work across eyebrows toward hairline
⦁ Complete with forehead strokes in small sections
Consistency matters more than duration. Using gua sha two to three times per week gives the best long-term results. I focus on gentle pressure and proper techniques rather than rushing through the movements.
If you're new to this, start with the 5-minute routine and slowly work up to longer sessions. You'll see benefits like reduced puffiness and better circulation right away. As your technique gets better, you can add more advanced movements to your practice.
Note that you should listen to your skin's needs and adjust as needed. Some days might need a quick morning de-puff session, while others could benefit from a longer, relaxing evening ritual.
Tracking Your Gua Sha Journey
I never thought about taking photos of my face when I started my gua sha trip. Taking progress photos turned out to be significant to stay motivated and perfect my technique.
Before and After Documentation
Photos have become my must-have first step in my gua sha trip. I found that regular photos help me spot subtle changes I might miss otherwise. Here's my tested process:
1. Take photos in natural lighting
2. Capture all angles (front, both sides, neck area)
3. Maintain consistent facial expressions
4. Document same time of day
5. Use the same location and lighting
Progress Measurement Tips
Results show up in different phases based on my experience. People see quick de-puffing around their eyes and jawline right after the first session. I watch these signs to track long-term benefits:
⦁ Less fine lines in the neck area
⦁ Better definition in cheeks and jawline
⦁ Improved skin texture and complexion
⦁ Fewer forehead expression lines
⦁ Changes in facial contours
We used regular practice to get the best results. The largest longitudinal study shows that doing gua sha 2-3 times a week works best. This schedule gives your skin time to respond while keeping steady progress.
Adjusting Your Technique for Results
My experience taught me that changing your technique boosts benefits. I made mistakes at first but got better with time. Here's what I learned about adjusting the routine:
Light pressure works best at the start. I add more pressure slowly based on my skin's response. To name just one example, see how I use gentle strokes near my eyes but press harder along the jawline.
My observations show morning sessions reduce puffiness better, while evening sessions help release face tension. This knowledge helps me switch between morning and evening treatments based on what my skin needs.
The boost in nutrients and oxygen flow lasts for hours after each session. This helps me plan my weekly treatments better.
Note that areas with lots of lymph nodes need extra care, especially under the ears and along the jawline. Focus on these spots has helped me reduce fluid buildup and improve my face's shape.
Success comes from making this practice your own. After learning the basics, I started listening to my body and made changes that worked for me. This customized approach helps me keep making progress without irritating my skin.
Conclusion
Gua sha has transformed my skincare routine. This ancient practice truly deserves its modern popularity. My consistent practice has shown how this technique reduces puffiness, boosts circulation, and naturally sculpts facial features.
The gua sha experience might feel overwhelming at first. Note that proper technique matters more than complicated routines. Five minutes of daily practice can yield noticeable results if you do it right - I've seen this firsthand.
You can experience these benefits too. Our Wave guasha stones will help you begin an experience toward naturally radiant skin. Note that patience and consistency are essential. Track your progress, adjust your techniques when needed, and celebrate small wins along the way.
Your skin's needs should guide this practice. Adapt the routines to your schedule and trust this time-tested technique's wisdom. Starting this transformative skincare practice today will make your future self grateful.
Written by Monika Aman